Putty SSH Tunnelling: Difference between revisions
Jump to navigation
Jump to search
No edit summary |
No edit summary |
||
| (One intermediate revision by the same user not shown) | |||
| Line 2: | Line 2: | ||
Fill HostName (or IP address) and Port: | Fill HostName (or IP address) and Port: | ||
login.anunna.wur.nl Port: 22 | login.anunna.wur.nl Port: 22 | ||
[ | [[File:Putty_ssh_tunnelling_1.png | 512px]] | ||
2. Category -> SSH -> Tunnels: | 2. Category -> SSH -> Tunnels: | ||
| Line 8: | Line 8: | ||
Destination: 127.0.0.1:53682 | Destination: 127.0.0.1:53682 | ||
Then click "Add", you should get: | Then click "Add", you should get: | ||
[ | [[File:Putty_ssh_tunnelling_2.png | 512px]] | ||
3. Click "Open" (at the bottom) | 3. Click "Open" (at the bottom) | ||
Latest revision as of 13:38, 4 June 2024
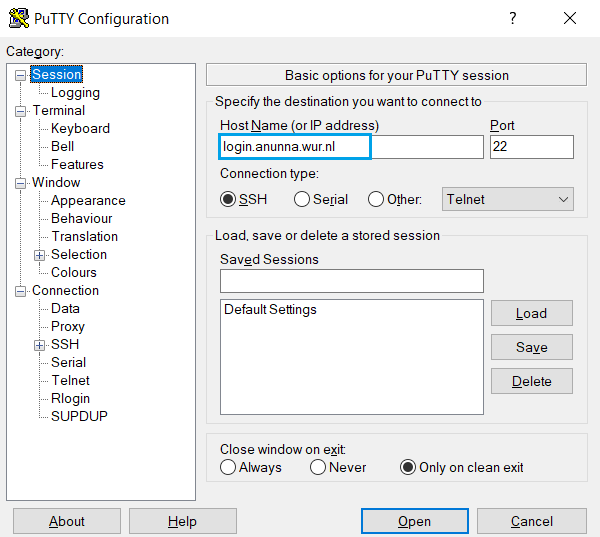
1. Category -> Session:
 Fill HostName (or IP address) and Port:
 login.anunna.wur.nl      Port: 22

2. Category -> SSH -> Tunnels:
 Source port: 53682
 Destination: 127.0.0.1:53682
 Then click "Add", you should get:


3. Click "Open" (at the bottom)
Provide your userid and password to connect to the HPC.
Now you've built up the forward port connection, just same as using the command line: ssh user@login.anunna.wur.nl -L53682:127.0.0.1:53682